|
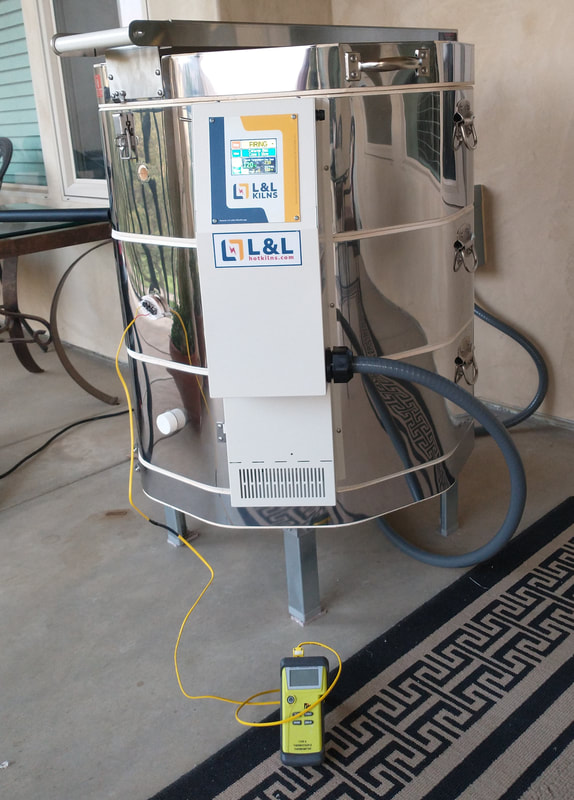
Kiln wiring was completed today!
The kiln is running the recommended initial firing program now. Once complete and cooled down, it will be ready for its first load of bisque. I'm excited! It's been just under a year since last glaze fire. A lot has happened since then, looking forward to some glazing sessions and waiting to open the kiln after a glaze fire!
0 Comments
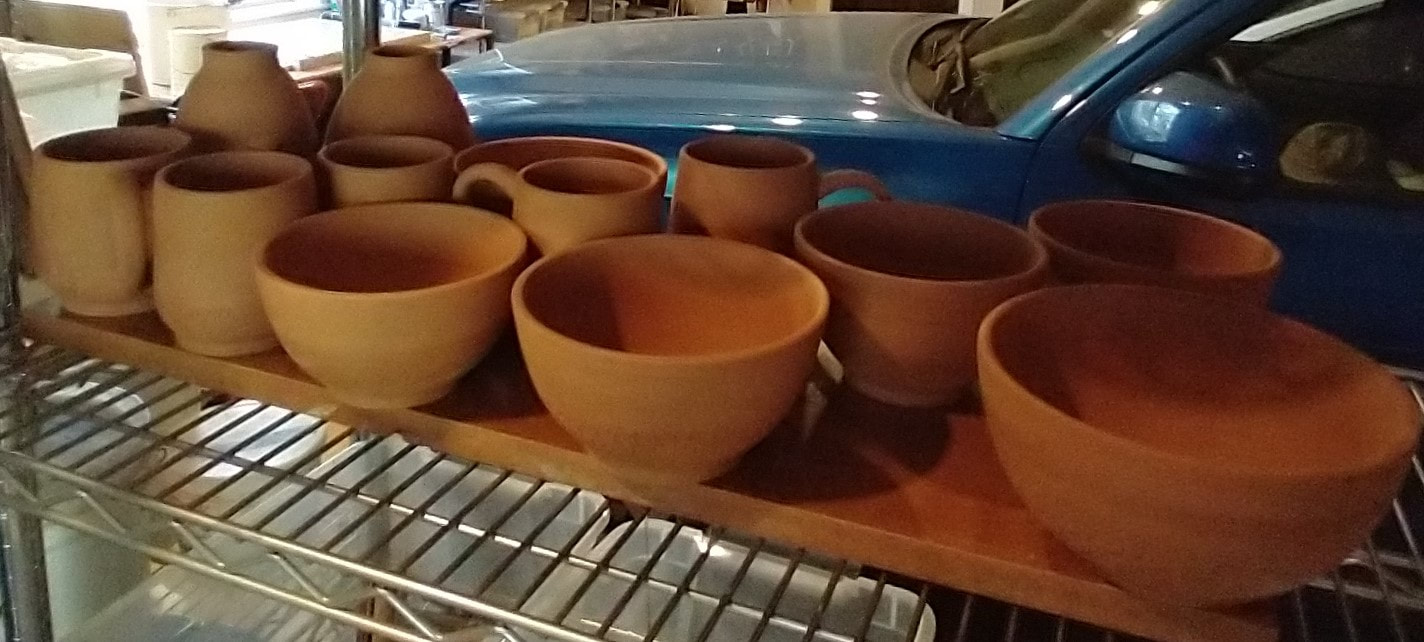
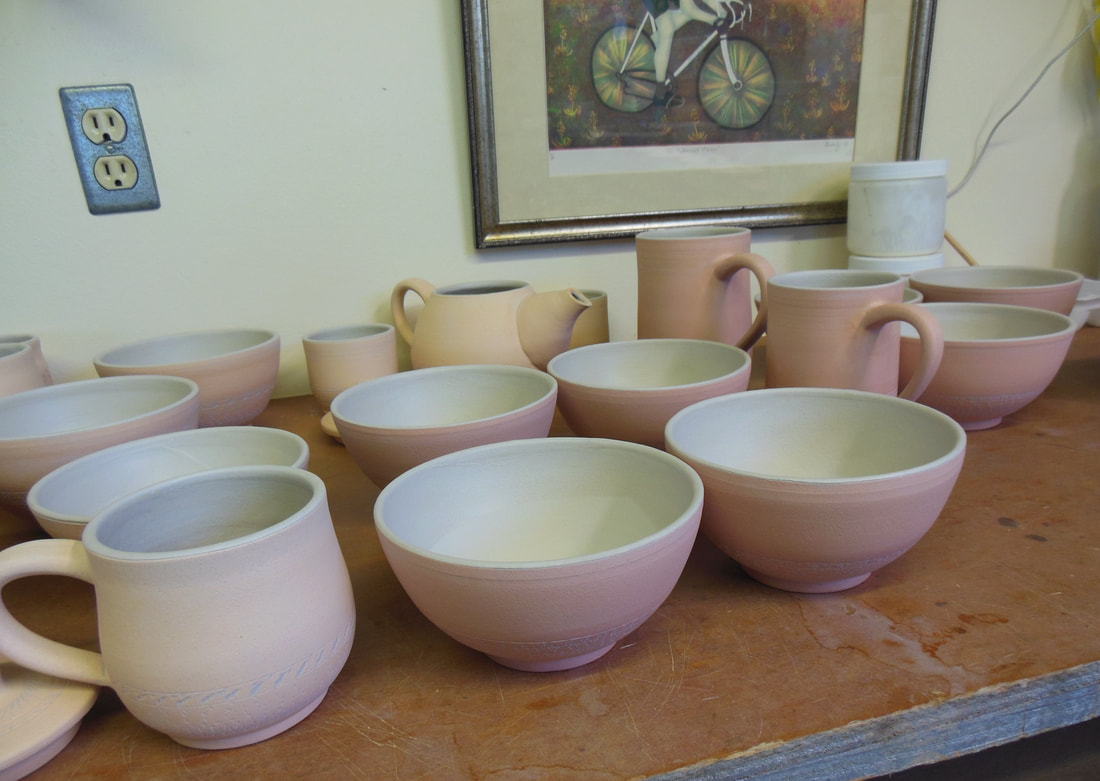
A few mugs, bowls, and bottle vases in IMCO "Red Velvet" red stoneware clay, thrown last week.
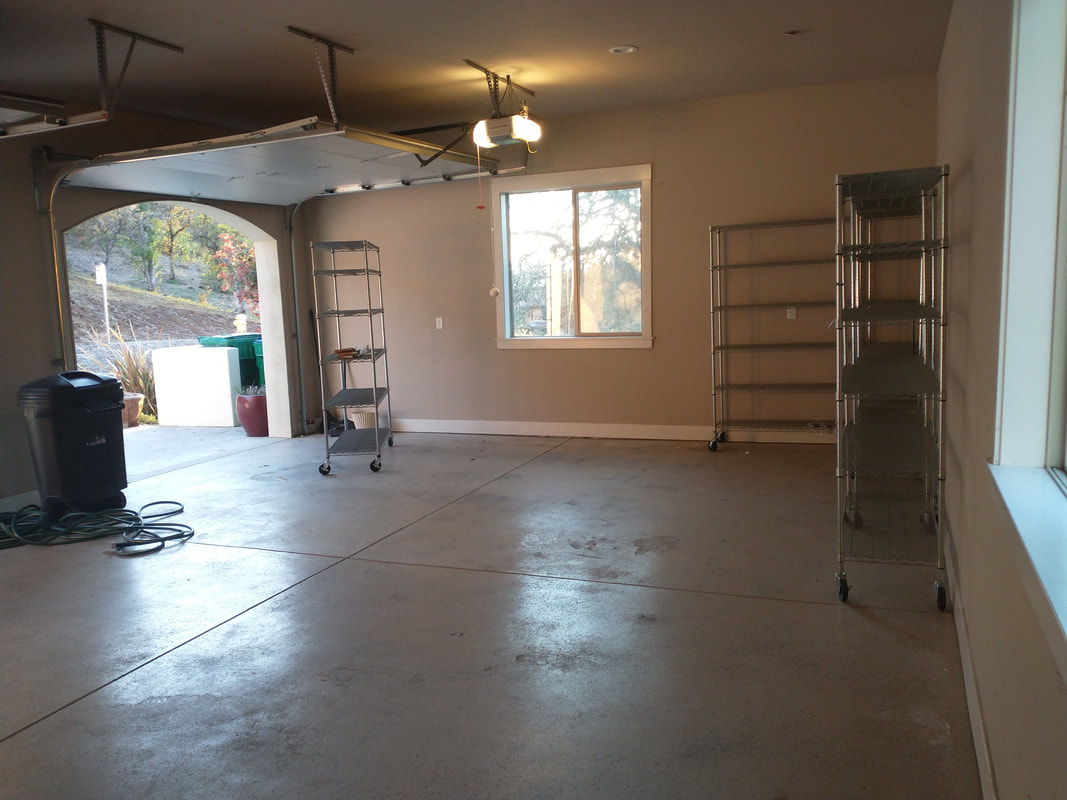
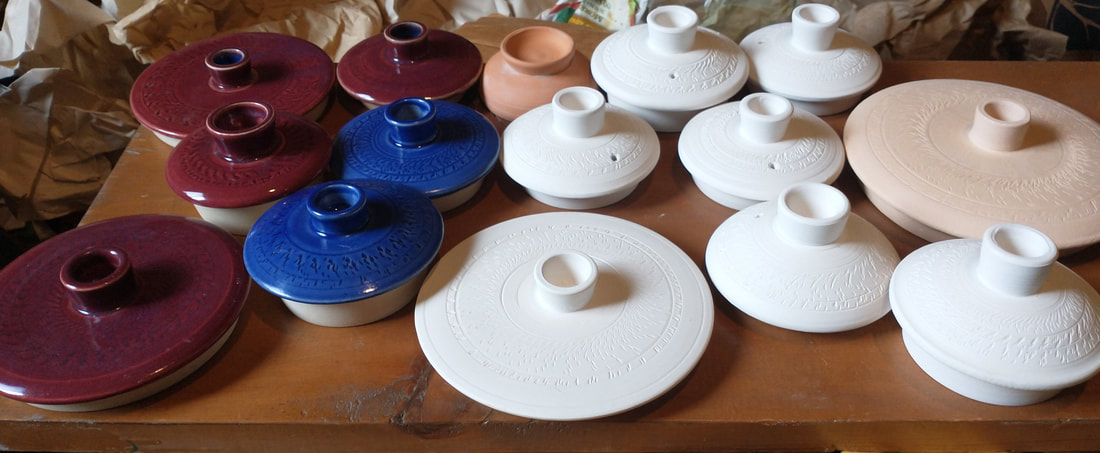
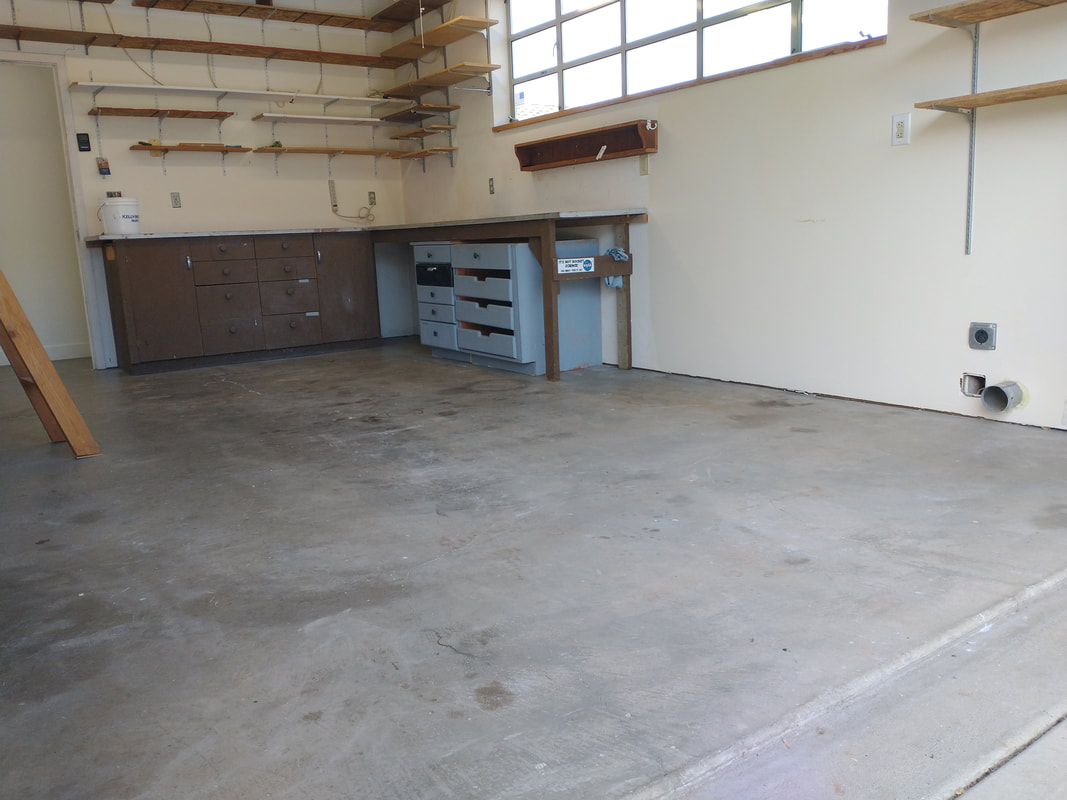
Of the several red stonewares I've tried, this is my favorite; it's fairly plastic, holds its shape, isn't as prone to cracking whilst drying as some others, has much less "large particle" defect, and my glazes work well with it. Looking to have a full load ready for when the new kiln arrives. Here's the new Studio space! "The plan" includes putting up a wall with a person door and several electric outlets, adding outlets on the back wall, running kiln wiring to the corner by the rollup door, installing ventilation for the kiln, fitting the space with a heat pump (it gets both hotter and colder here! !!), installing flush mount led lighting to the ceiling. These extra/spare lids made the trip ok.
There's a few dozen mugs, bowls and jars as well, will take and post images... We made it to Chico! Most of our stuff is in storage whilst we look for a new home (and Studio). Here's the "old" Studio, all cleared and cleaned up! It's a nice space, really liked the big window, counter top space, built in cabinets and drawers, and comfortable, most days. Still hoping to hear from the couple that bought the three mugs!
I have your small Variegated Blue mug; I neglected to pack it in your bag. Let me know, I'll mail to you, just need an address... Updated
We're moving to Chico (a small town about ninety miles North of Sacramento). We had been busy with the many details of listing our home for sale, spiffing it up for showings, making repairs, et cetera ...now there's packing. There are several boxes of ware that I will pack and take with, however, feel free to be in touch should you be interested in adding to your collections. It will be another week or so before they are packed away. Orlando, thank you for buying up that four bowl set yesterday, hope it serves you and yours well for a very long time! The classic (circa 1988) Skutt KM-1027 kiln will not be making the trip. ...a new home has been found, thank you! I hope it continues to fire up for a very long time - it has served me well. Once we're settled in Chico, I'll be looking for a newer kiln, which I hope to situate in its own dedicated shed. Many potters take electronic firing control for granted. Perhaps I will too, some day; looking forward to it! I hope to hear from the couple that bought the three mugs! I have your small Variegated Blue mug here; I neglected to pack it in your bag. Healing continues!
Fractured ribs still ache some but aren't limiting activity. The shoulder trauma is improving; however, it is limiting. *** *** *** ****
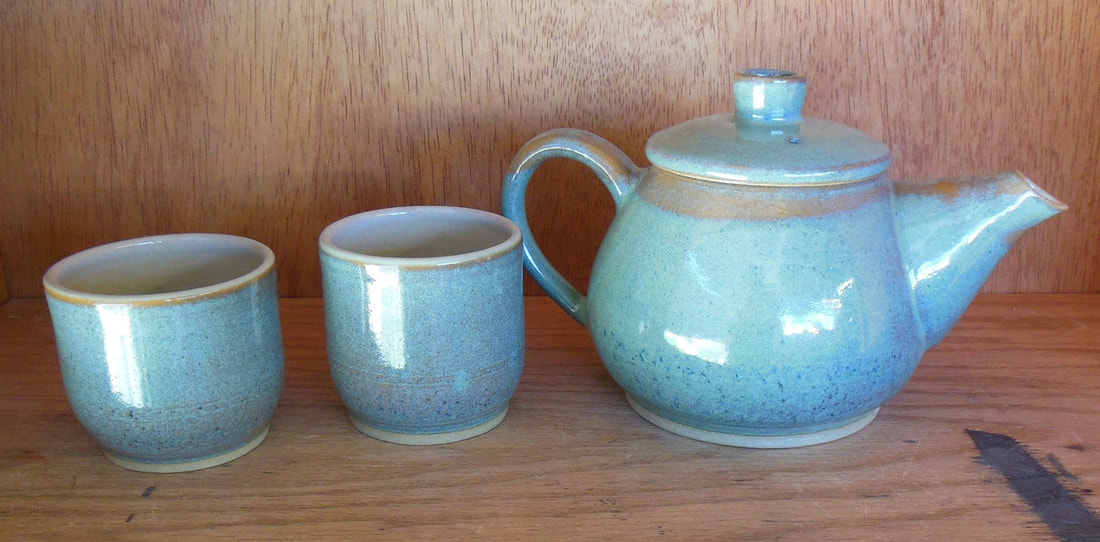
Couple that bought a large pair of Rutile Green mugs and small Variegated Blue mug the afternoon of 16-OCT-22, I see that I'd neglected to put your wrapped blue mug into your package - I have it here in my drawer, I'm so sorry! Let me know if I can bring it to you? Else, if you'd rather swing by the Studio, just let me know when's a good time. *** *** *** *** 21-OCT-22 San Luis Obispo Botanical Garden* is hosting "Art in the Garden" first weekend in November There will be over thirty displays - glass, paint, photography, pottery/ceramic, and more! Saturday, November 5th 10am-5pm Sunday, November 6th 10am-4pm *Across Highway One from Cuesta College As of Tuesday (1-NOV-22), looks like I won't be up for setting up and staffing this Fall's Art in the Garden event, hope to be there next time! 20-OCT-22 All Studio projects are on hold, likely several weeks. I've fractured left side ribs two and three, and left collarbone as well. Setting up and staffing my display at this Fall's Art in the Garden event is up in the air at this point. I'm able to get up and around fairly well - well enough to wrap up some gifts to send out USPS for October birthdays, but not well enough to stand very long, nor wedge clay, throw on the wheel, trim, glaze, mop the floor, etc. Just give me a shout if you'd like to stop by and peruse the Studio! 16-OCT-22 Thank you neighbors, friends, visitors from near and far, who stopped by my Studio this weekend! 11-OCT-22 Thank you, neighbors, friends, visitors from near and far who stopped by my Studio this last weekend! I've noted several suggestions: - larger serving bowl - honey jars with integrated honey spoon/thing - red clay bowls glazed with the liner glaze inside and outside; over the red clay, the liner appears gray - more wares in the Teal Blue - dinner plate sets - larger ramen style bowl, with cover and integrated chopstick holder 5-OCT-22 Very pleased with this teapot; it pours nicely! The two tea mugs are very close to the same size - the camera I'm using distorts close ups. 29-SEP-22 Here the liner glaze is waxed over the rim and down the inside an inch or so, ready for the outside to be glazed. After the wax is fully dry, I'm cutting with a razor knife and wiping away the excess liner glaze off with a sponge. The chatter marks are filled with glaze. I'm dampening with a sponge, brushing the glaze over the marked area, then wiping away the excess with a sponge. See Tony Hansen's video clip: (185) Liner Glazing a Stoneware Mug - YouTube 26-SEP-22 Unloaded Saturday's bisque load yesterday, got a good start on sanding off any rough spots, inspection, and washing off; looking to finish the rest today, then liner glaze the whole lot. How the pot will feel when finished is revealed at this stage, it's fun! A customer asked for covered Ramen bowls last year; I've been working on them! These prototypes are wider across the bottom than my other bowls, which allows for more volume for the same height and width. The teapot is a bit bigger than earlier prototypes, and it pours well. Last glaze load has been inspected, the bases polished smooth, washed, priced, and put away*. I'd picked up some Laguna Speckled Buff and IMCO Red Velvet clays to test when last traveling; I really like both of them, will get more next time! The Teal Blue glaze melts late in the firing, and does not move much. As the glaze dried after dipping, cracks formed at the handle join on all the Teal Blue mugs in this load. The other glazes I use will typically flow back together when they melt; the Teal Blue did not. All the Teal Blue mugs from this load will be drilled for use as planters. There will be more Teal Blue mugs in future! The "Helper" bowls curve inward at the rim. At last Spring's "Art in the Garden" event, a parent and adult child had inquired about a bowl design that would help the elder load their spoon and keep it loaded. These are the prototypes; when one has loaded their spoon, drag up the side of the bowl, where the back curve helps keep the spoon loaded, then tuck the bowl edge under the chin and lift that spoon straight in. The carved foot provides a secure grip for the bowl hand. The chattered texture - which adds some interest and color to the ware - adds some grip for the bowl hand. *I needed counterspace for the next load, which is in the kiln right now! |
Tom MurphyArchives
May 2024
Categories |
 RSS Feed